Quickstart
Get from a new chat to your first shareable product document in a few minutes: set up your profile, write with a template, edit, and share or export.
Welcome to ChatPRD! This guide gets you from a new chat to your first shareable product document, then points you to the features that make every document better.
1. Set up your profile
Your profile tailors everything ChatPRD writes:
- Go to Profile settings.
- Add your role, company and website.
- Write a bio, or click Generate to have AI draft one.
- Set preferences like language, personality, feedback style and industry.
See Setting up your user profile.
2. Write your first document
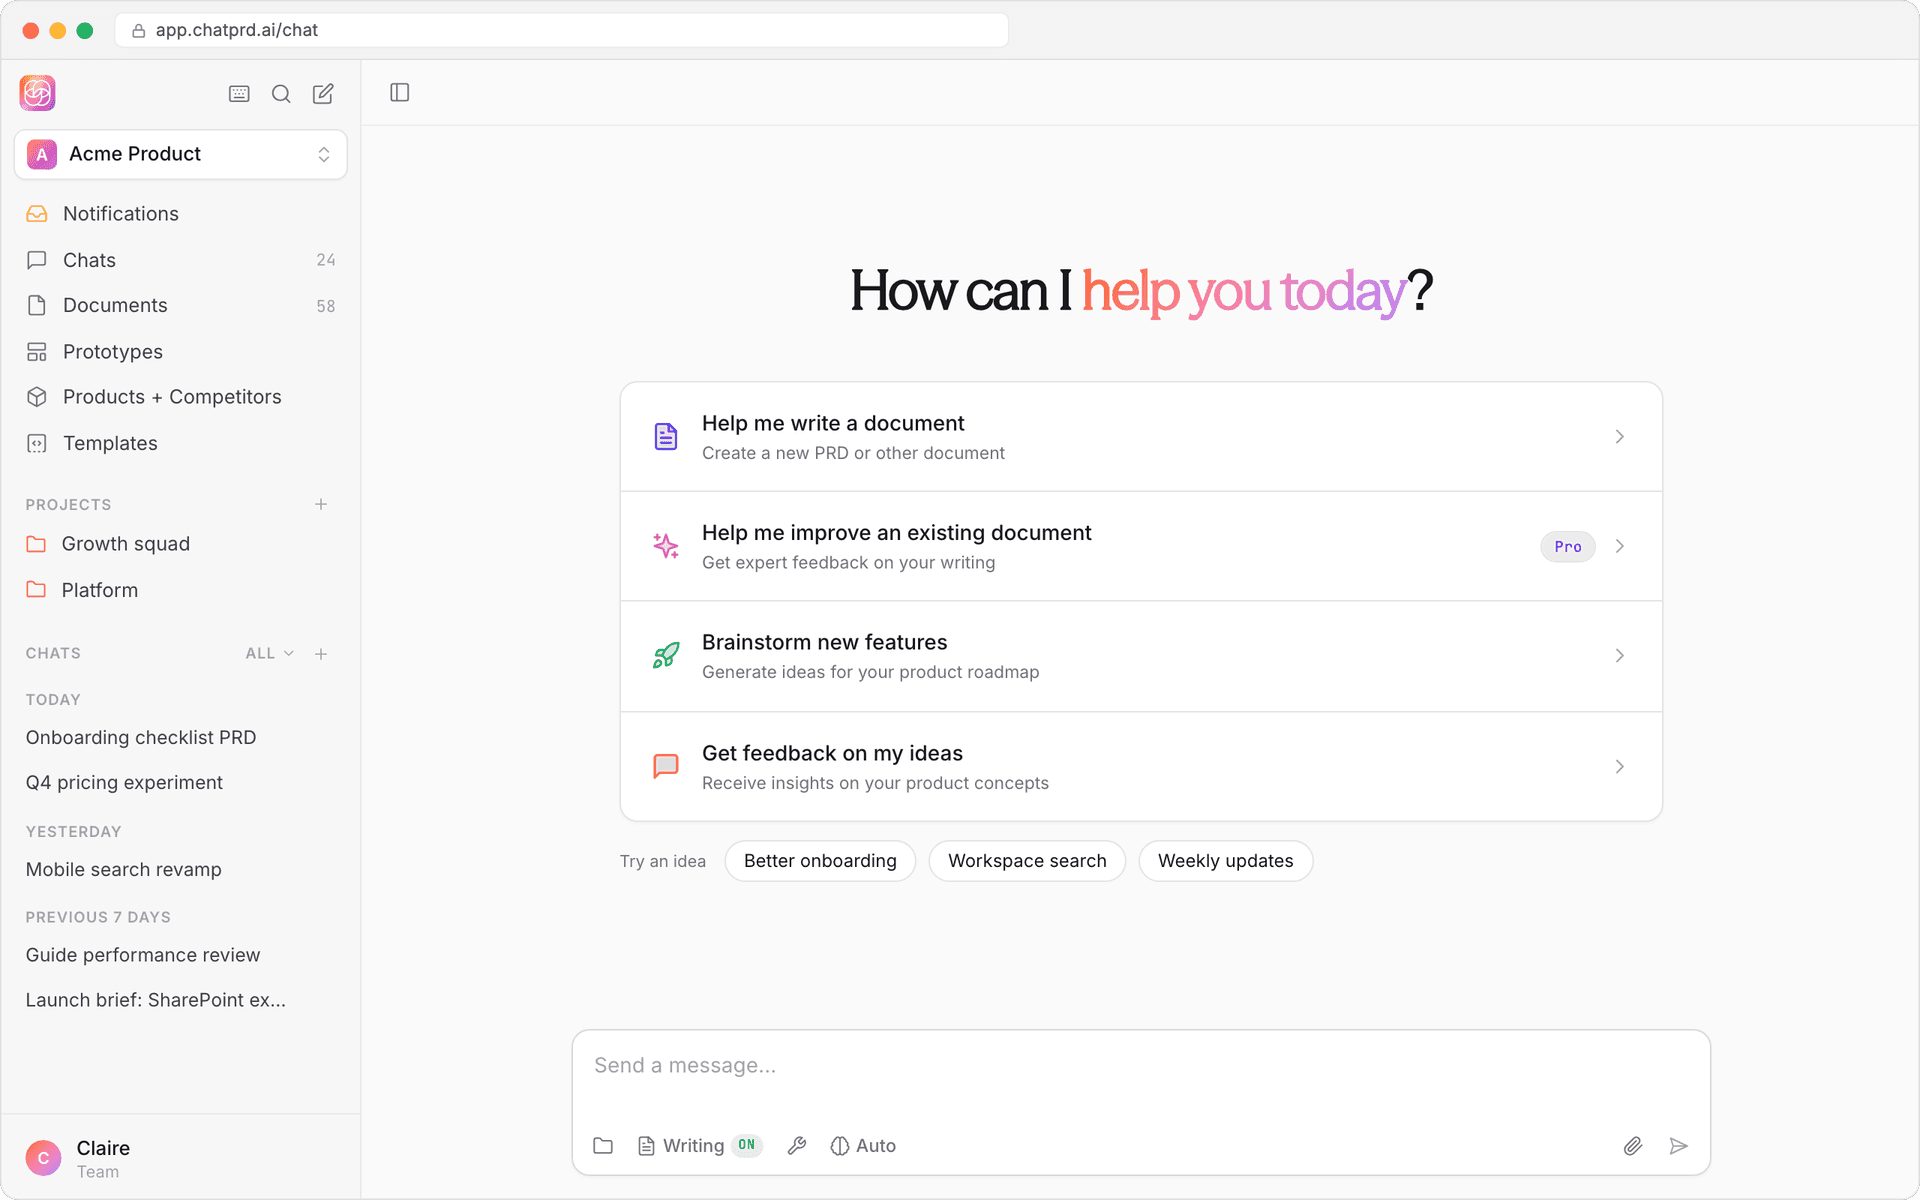
- Click New Chat and describe what you're building, or click Help me write a document.
- Writing is on by default. The template is set to Auto (ask me each time), so ChatPRD picks the best template, and a card in the chat shows which one and why. Click Change to pick another.
- Watch the document write itself in the editor beside the chat.
- Edit it directly, or ask ChatPRD for changes, like clarifying a technical section or tightening the success metrics.
3. Use templates
- ChatPRD templates: dozens of built-in templates for PRDs, technical design documents, launch plans, specs for AI coding tools and more. See Included Templates.
- Custom templates: build one with a prompt, paste an outline, import a file, or build it by hand.
- Shared templates (team workspaces): share templates with your organization so every document starts in your house style.
See Creating & Using Templates.
4. Share and export
- Share a chat from the chat header with your team, specific teammates, or a public link. Sharing includes the chat's documents.
- Export from the editor header: Copy as Markdown, Export as .md or .docx, or export to Google Docs, Notion, Confluence or SharePoint (team workspaces).
See Exporting documents and Team Collaboration.
5. Organize with projects
Projects give ChatPRD focused context for a product or initiative:
- Create a project with a name and instructions.
- Upload files for context, like PDFs and presentations.
- Start chats inside the project, or move existing chats in.
- Share the project with your team.
See Creating & Using Projects.
6. Connect your tools
Connect integrations to bring context in and send documents out: Google Drive, Notion, Confluence, Slack, Linear, GitHub, Granola and more. Turn tools on per chat with Chat tools (the wrench). See Tool Selector.
You can also use ChatPRD inside ChatGPT, Cursor, Claude and other AI tools. See MCP Integration.
More resources
- Workspaces: individual users get a personal workspace; teams use their organization's workspace on a Teams plan.
- Longer tutorial: prefer a full walkthrough? Watch the video below.
- Feedback: we love hearing from you. Share feedback in our community Slack channel or through support chat.